In
part 1, I discussed the tools that I use to keep track of my progress in a pattern while I'm knitting. Today's post also contains tools, but more tools for the brain. I've learned that some patterns, while written correctly, require a little tweaking in order for me to remember the pattern more easily. A better memory of the pattern requires less reading and knitting at the same time and a faster project in all.
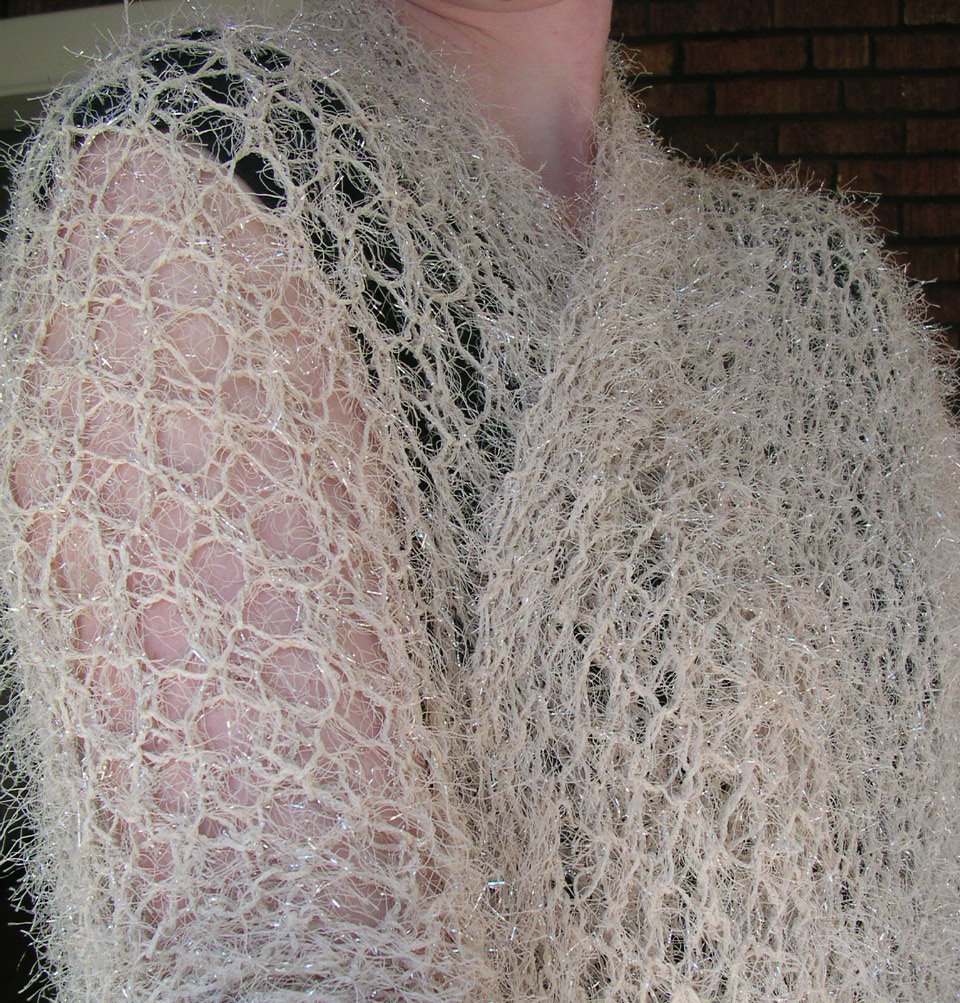
So, the first trick I use is breaking down the pattern into steps. This only really works if the pattern is a simple repeat and isn't many, many rows long. I guess you could write out a longer pattern, but it becomes more tedious then helpful - I would think.
While working this project (on the left) I was working in a Michaels store as a demo for an upcoming knitting class. While the
pattern is easy enough, it becomes difficult when you have to start and stop and answer questions for customers walking by.
 The solution:
 I made index cards out of each pattern row. Since there were only four rows it wasn't a big deal. I numbered each card (really just a scrap of paper) with it's row number in case a curious child decided to shuffle them or a breeze knocked them off the table. Also on the card was each pattern row written out.
While knitting I would knit the first index card. After I finished that row, I would flip the stack to the next card. After finishing that row, I'd flip the deck to the next...and so on. So now customers could ask a bunch of questions and I wouldn't get lost. Some even asked about the card flipping!
Another trick I use is "rewriting" or "rechunking" (as I like to think of it) the pattern repeats in order to make it more easy to remember. In the same shawl pattern pictured above I rewrote the 2nd pattern row. It was correct in the pattern but hard for me to remember without reading and re-reading while I knit across.
As written, it goes *k1, yo, k2tog (repeat from *) or knit 1, yarn over, knit 2 together, repeat across the row. Since this same pattern has in the 4rth row basically the same thing without the k1 in between, I kept forgetting to k1 on this row. My shawl kept getting screwed up and I was getting frustrated.
So, I "rechunked" the pattern row to be: k1 *yo, k2tog, k1 (repeat from *).
Now, granted this may not work for everyone. When I knit I find there is always a natural pause in a pattern. In this pause I can look around, answer a question, take a drink...etc - without getting lost or have to recount stitches to find my place. I know where I stopped because it makes sense in my head. If the natural pause comes at the end of the pattern repeat as it's written...great! I can follow it no problem. Here, the natural pause in the pattern was after the k1 - which I kept forgetting. I moved the k1 to the end of the repeat and it stuck. I could knit the repeat and not get screwed up. As long as the "rechunked" repeat comes out the same as the old one, it'll work fine.
That's it for part 2. I hope some of this is of use and helpful 'cause there is one last post to go :)
With that, I'll leave you with a gratuitous picture of the cat. He doesn't make my blog enough and is oh so cute. Say hello Yakko!
 As I was starting to think of what I want for Christmas (yes...my family requires everyone to make a list every year!), I searched the web for links to sock blockers. Although I always block my other finished knits, I have never blocked my socks because I never had a pair of sock blockers.
 I have empty hangers and some Christmas gift socks already made (and in need of blocking). Not 1 minute later I had my first sock blocker made! The hardest part was finding an exact matching hanger!


 (pictured on the right), but I find marking on the pattern itself a bit easier when following a complicated stitch pattern. I mostly use row counters to do simple counting of rows or to record what number row I just completed. The latter method helps when you have to start and stop a pattern in the middle of a repeat, for example.
)

 Posts
Posts

